
Yamaha DX7
Main Article: Yamaha

| Release Date | 1983 |
| Outputs (Unbalanced) | 1 1/4″ TS (Mono), 1 1/4″ Headphones |
| MIDI | 1 MIDI In, 1 MIDI Out, 1 MIDI Thru |
| DAC | 12-bit |
| Polyphony | 16 Voices |
Documents
- Operating Manual
- Operation Manual
- Voice Library
- DX7 / DX9 Service Manual
- Circuit Diagram (Schematics) [Mirror]
- Parts List
Patches
| Banks | 1 |
| Patches | 32 |
| Expansions | Cartridge, Memory Expansion Mod |
Videos
Parts
Battery Replacement
Battery Check
Press FUNCTION
Press 14 (BATTERY CHECK)
The screen should read 2.2-3 volts. If it reads any lower or higher, the battery will need to be replaced
Other signs of a bad battery include scrambled text on patches and saved patches erasing after powering off
Power Cable Replacement
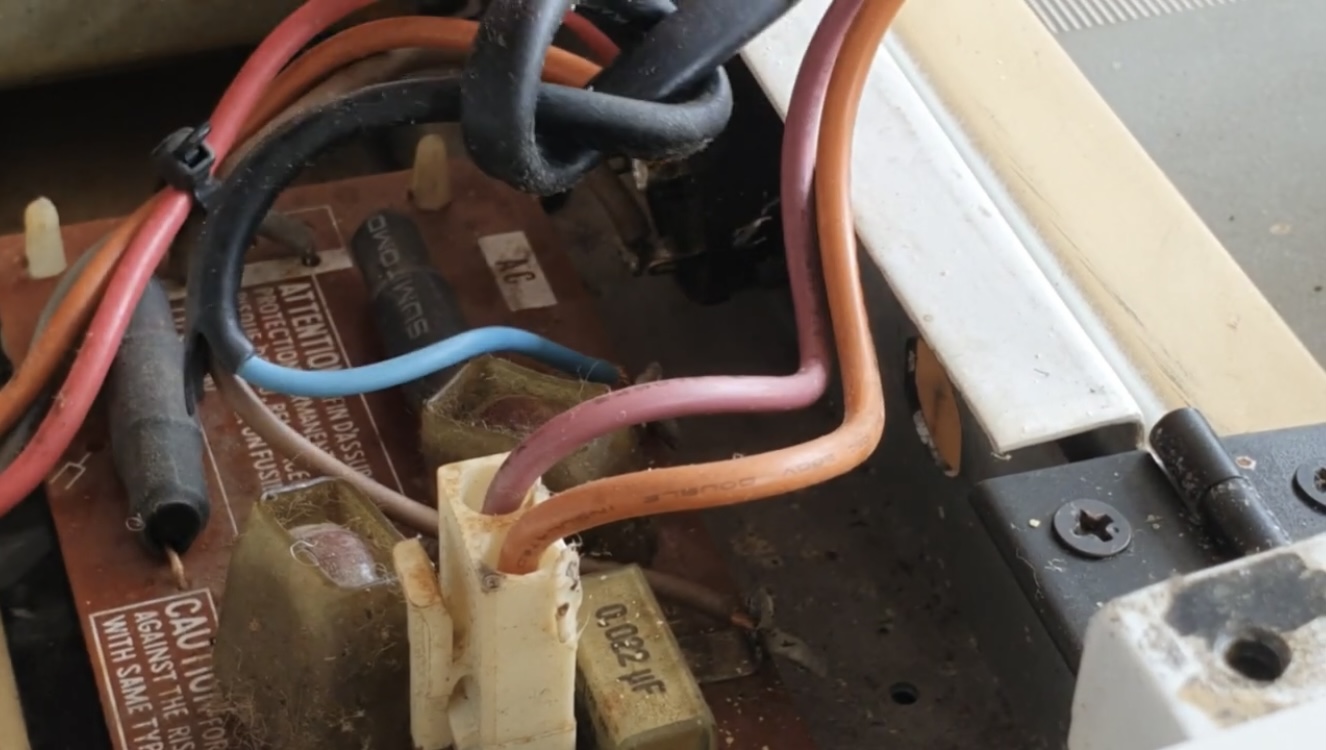
The original wires on the DX7 are colored Blue for NEUTRAL and Brown for LIVE.
Installation Guide
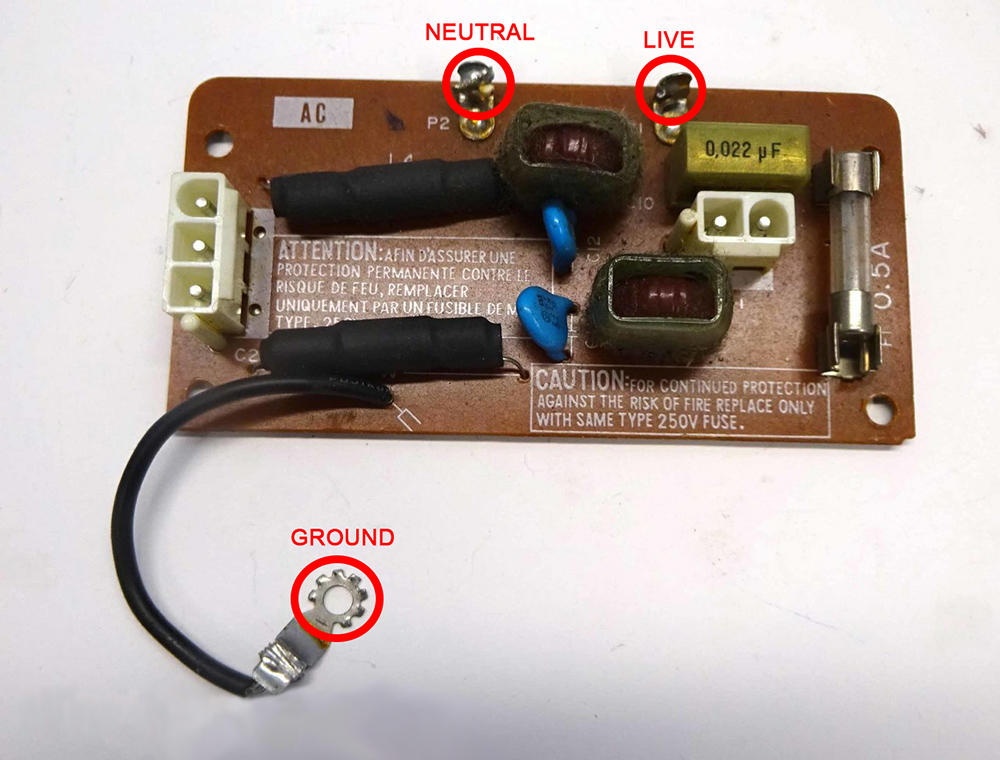
Desolder the existing power cable wires labeled P1 & P2 on the AC/fuse board
Remove the cable grommet from the keyboard case by squeezing with pliers and pushing outward
Insert new power cable into the grommet and install the grommet back into the keyboard case
Solder the new power cable onto the AC/fuse board. P1 is Live and P2 is Neutral. If you are in the USA, P2 will be wired to the larger prong and P1 to the thinner prong on the plug. If you are attaching a 3 prong plug, the ground is located on the opposite side of the board.